We then learnt the chemical process of developing the photographic paper. 90 seconds in the developer, 30 seconds in the stop bath; being careful not to put the tongs from the developer into the stop bath, then back into the developer. Then the paper goes into the fixer for 5 minutes, and then throughout the magic hole in the wall, into the wash baths for 20 mins.

This is the contact sheet that I produced. It enabled me to see the images that I had taken, and decide which ones I want to print.

This is the test strip for the two print below. The lightest section is a 5 second exposure, and the sections increase in exposure by 5. This is always a good idea to do, as it helps you to work out the exposure time for the final print.

This is the first print that I made.. The exposure settings for this were f/2.8, 18 seconds, grade 3. I am very pleased the overall print, apart from the minor blemishes on it (caused by chemical residue on my fingers, oops!), but when I looked at it in the daylight, I thought it looked flat in regards to tones and contrast.
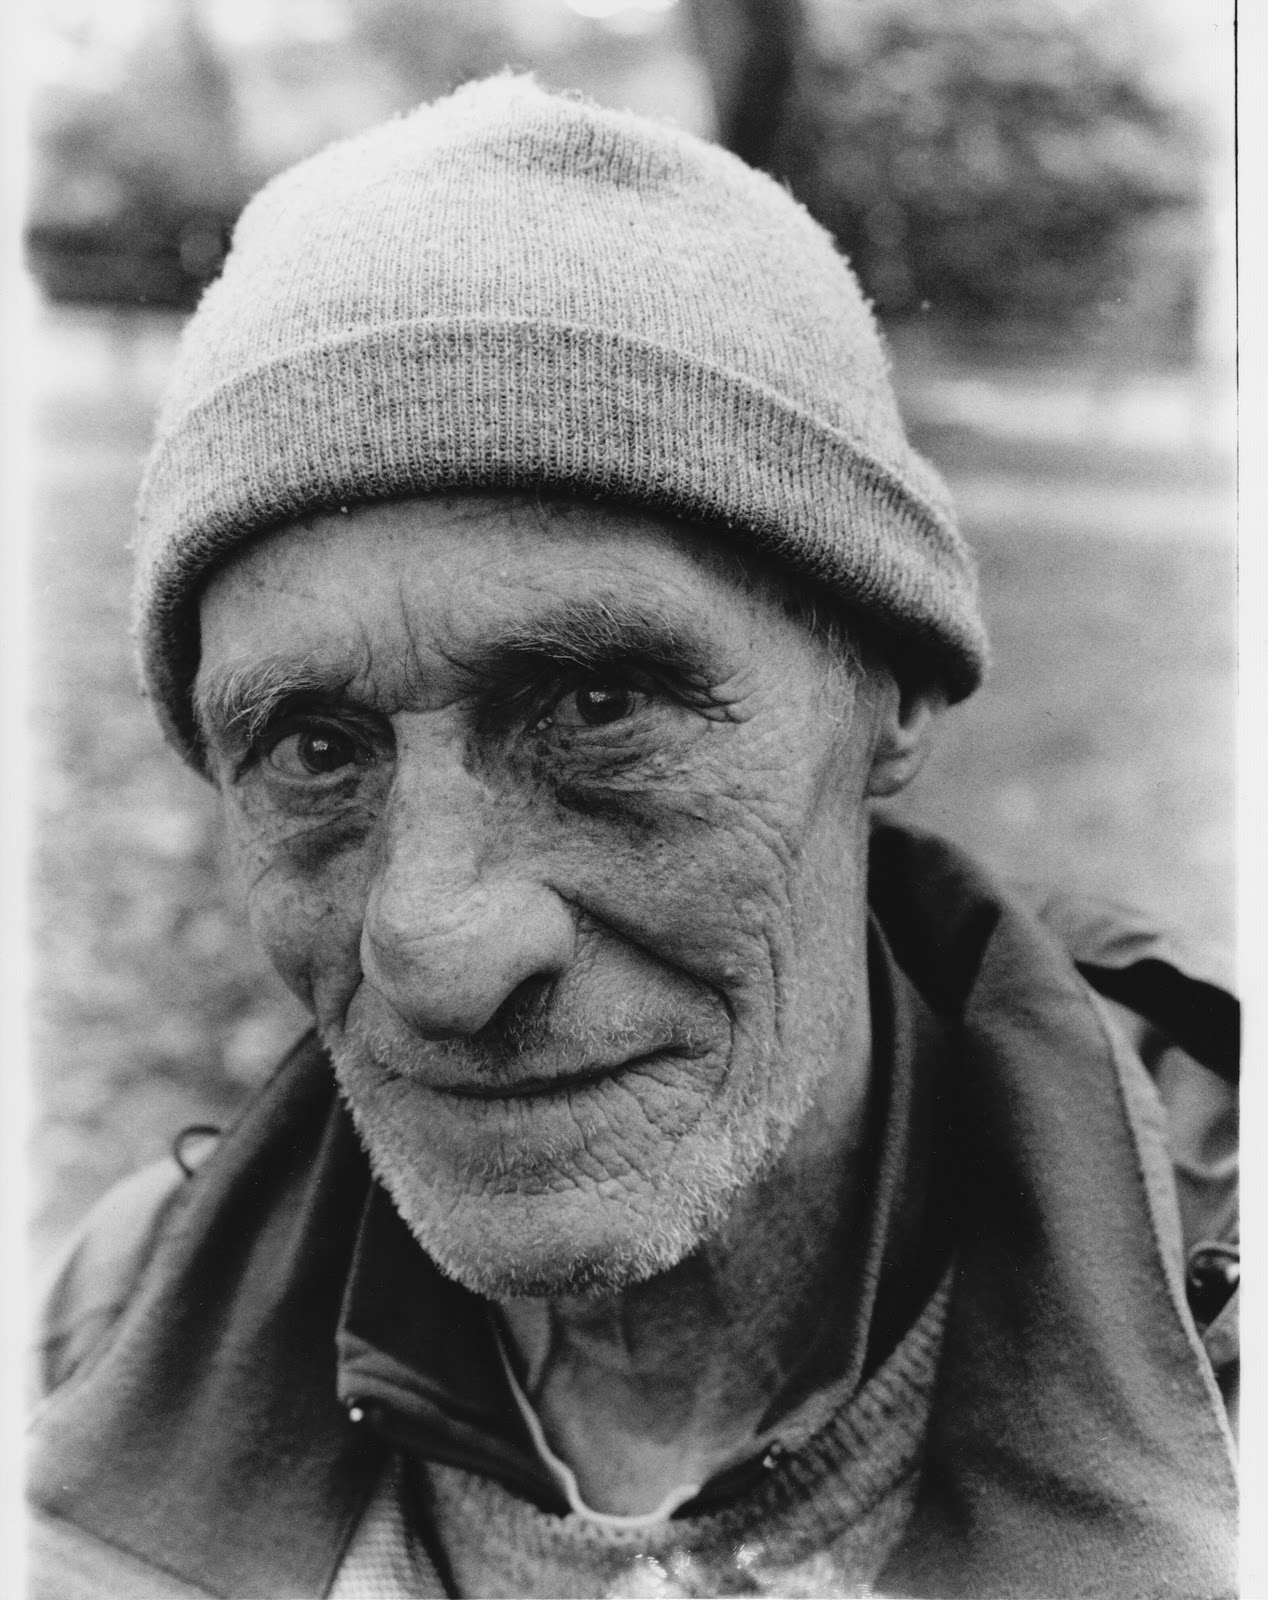
Love this image :D
ReplyDeleteAlso like the one on your contact sheet of the sky!
I think you should print that one in the darkroom